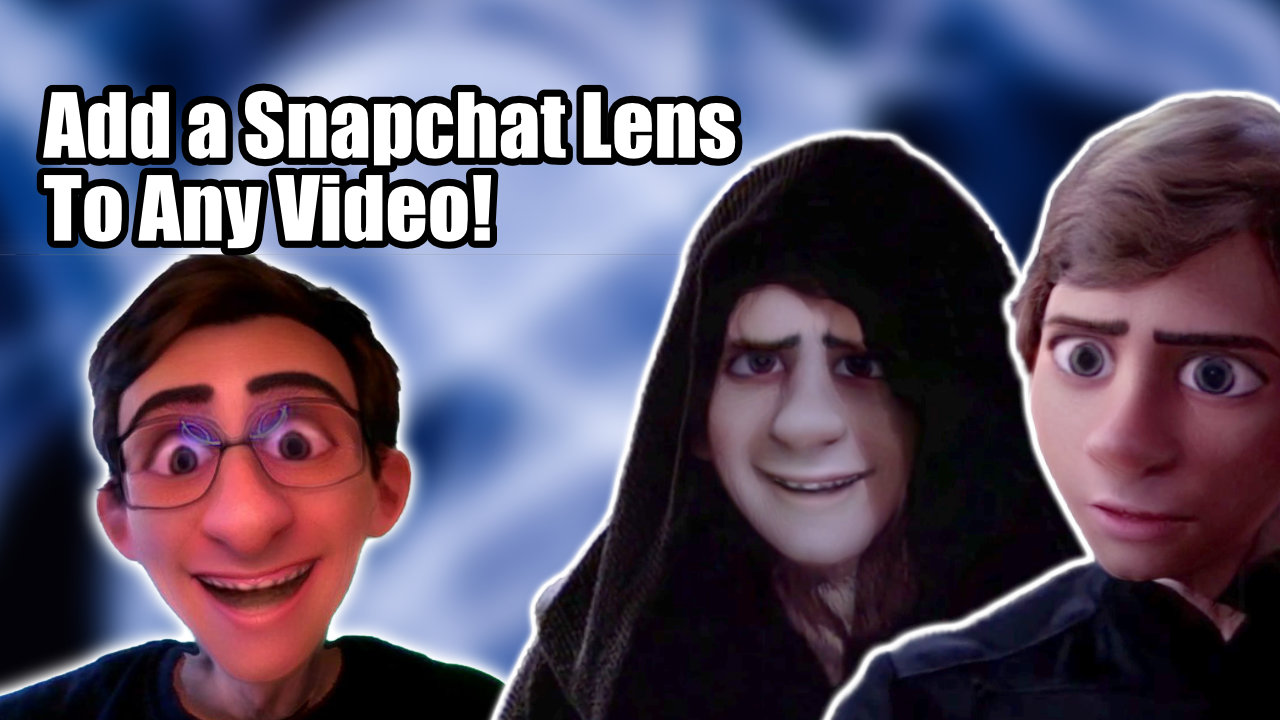
Apply a Snapchat lens to ANY video using SplitCam and Snap Camera

Introduction
Snap Camera is an awesome desktop application that lets you apply Snapchat filters and lenses to your Zoom/Teams/Google Meet video calls. While this itself is incredible, you can only apply the lenses to webcam video. But what if you already have a video file you'd like to add a filter too? Not to worry, we can do this with a few free pieces of software.
What do you need?
First make sure you have Snap Camera downloaded and installed. Next, download and install SplitCam.
The setup
Start off by opening up SplitCam. Click the "+" button in the Media Layers section and select "Video" from the media section. Select the video you want to apply a filter to. Depending on the resolution of your video, it may or may not fill the whole video feed, so click on the little menu button next to your video media layer and choose the "Fit to canvas" option. You can also click and drag the corners of the video to resize it accordingly.
Now open up Snap Camera, go to the settings, and then choose "SplitCam Video Driver" for the input camera. If you exit out of the settings, you'll now see your video playing in the Snap Camera preview!
Applying the lens
Choose the lens you want to use either by searching for it or pasting in the link. Click the "Take Video" button in Snap Camera and then head over to SplitCam and restart your video. Once you are done recording, be sure to save the video and then use your favorite video editing software to sync up the sound from the original video file with the output of Snap Camera. Happy creating!
