Getting started with 3D graphics for augmented reality

At the time of writing I'm using Lens Studio 4.34, Meta Spark v151, and Effect House 1.18.1.
The great thing about augmented reality (AR) is that it combines lots of different disciplines into one. The bad thing about AR is that it combines lots of different disciplines into one. You'll find 3D graphics, 2D graphics, programming, design, and machine learning all coming together to create awesome experiences. But most people aren't experts in all those fields. This guide will specifically address the 3D portion of AR. I'll walk you through all the concepts you need to know so that you'll have a foundation to build upon and keep learning 3D graphics. If you are already an experienced 3D artist, you may still find this guide useful because it will cover some of the nuances of preparing 3D assets for AR.
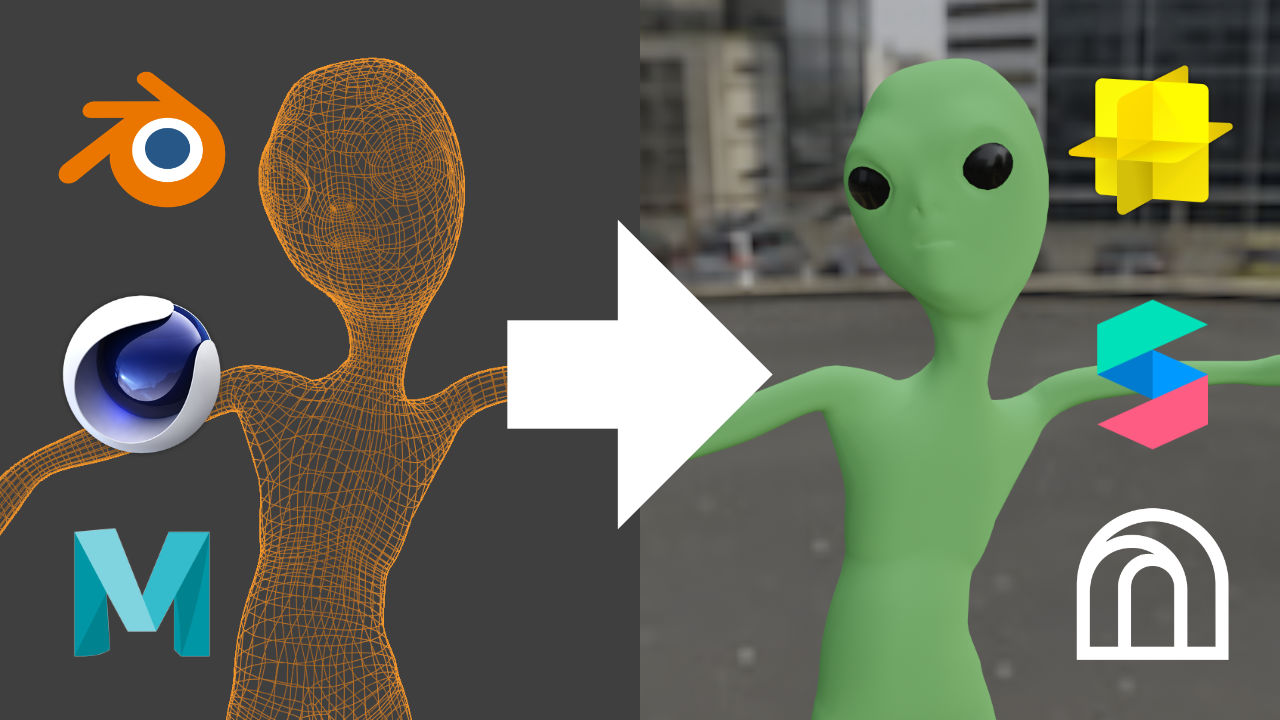
I will be using Blender as my 3D software of choice, but this is NOT a Blender tutorial. I will show what I am doing in the software so that you can then lookup tutorials for any knowledge gaps you have or find corresponding tutorials for your 3D software of choice.
My focus for AR is on social AR for Snapchat, TikTok, Instagram, and Facebook. The principles I cover here will also apply to WebAR or custom AR apps, but I will be going over limitations and requirements of the specific social AR platforms.
The guidelines I share here will be a mix of information from the various platforms themselves along with some things I learned along the way. As you prepare your 3D assets, please refer to the guides for the platform you are building for in case things have changed since I wrote this guide. In general 3D asset creation is the same for all the platforms but they differ in some details. I'll try to note this when possible. Here are the platform-specific guides:
The 3D mesh
Let's start with the mesh. Maybe you are going to model or sculpt it yourself, or maybe you'll downloaded a model from somewhere like TurboSquid or SketchFab. Here are a few things to keep in mind.
Triangle Count
A 3D mesh consists of various polygons connected together - each point of the polygon is a vertex. Usually these are quads or triangles. Each platform lists their limits in triangle count, so that is the value we are going to use here. Lens Studio has a soft limit of 100k triangles, but they recommend no more than 60k if the object is animated (and only 3k for cloth simulation). Meta Spark recommends 50k per object with 150k total per effect, and Effect House is the lowest at 20k triangles per model and 60k total per effect. That's all a bunch of very dry information, but essentially you want to keep things as low-poly as reasonably possible.
If you sculpted some awesome 3D character in Zbrush, you are going to have to do some retopologizing to get that poly count low enough. If you are downloading a character from TurboSquid, take a look at the poly count; if it is too high you'll have to do some tweaking to make it all fit. Creating assets for AR is much more similar to creating game-ready assets than it is to creating assets for film or TV.
If you are having trouble getting your poly count low enough, you can try baking a high poly mesh onto a low poly mesh to create a normal map and preserve some of that detail. But also remember that people are viewing these effects on a phone screen. If you have an intricate headdress or hat, the poly count is usually sufficient to preserve all that detail, especially if paired with a normal map. If you are creating a full body effect, remember that the user will be standing away from the screen and that the final image or video will be max full HD resolution - Snapchat, IG, and TikTok are not recording at 4K so you can get away with less detail than you might think.
Formats
If you stick with obj, fbx, and gltf you will be good to go. If your object has any animations, don't use obj because that format doesn't support animated meshes. I usually stick with fbx.
Modifiers
This tip may be Blender specific, but the lesson holds for users of any 3D software. One technique for creating face filters is to add blendshapes/shapekeys/morphkeys to a mesh. So what you do is you take your base mesh and create a shapekey (called Basis in Blender). Then you can create a new shapekey, give it a name, then adjust individual vertices. The main use case is to allow the user to animate a 3D face; I might have shapekeys for an open mouth, raised eyebrows, etc. So why is this under the modifiers section? In Blender we have the subdivision surface modifier. This smooths the geometry by adding subdivisions and is fairly common to add. The problem with this is that you cannot export shapekeys with the subdivision surface modifier. The fbx export will work, but the shapekeys will not be included. You might say to just apply the modifier and then export, but Blender doesn't let you apply this modifier if there are shapekeys (or blendshapes, I forget what Blender calls them). So if you want to create the shapekeys, you first need to apply the subdivision surface modifier. If you find yourself in this situation there is a process you can follow here or you can check out this addon, although I have not personally tried it and I don't know if it still works with Blender 3.X.
The moral of this story is to do simple, minimal tests of any feature you haven't used yet to iron out the wrinkles. It is no fun to create 50 shapekeys on a mesh only to find out you can't export them because you have a subdivision surface modifier on the mesh.
Animating
Rigging
Rigging is the process of giving your 3D model an armature, or "skeleton," so that it can be animated. Each vertex (individual point) in your mesh is then assigned a weight for each bone in the armature. The weight determines how much that vertex is affect by the bone. For example, let's say we have a 3D cat. The armature will roughly resemble an actual cat skeleton with bones for the head, neck, spine, legs, and tail. The vertices in the tail portion will have high weights for the tail bones and empty weights for the head bone. We don't want the motion of the tail to be tied directly to the motion of the head.
Lens Studio does not have a limit on the number of bones a model can have, but each vertex can only be influenced by four bones simultaneously. If there are more than four bones influencing a vertex, the model will still import but some of those weights will be dropped which can result in unexpected motion. Meta Spark has the same bone limits as Lens Studio. Effect House has the same four-bone-per-vertex limit, but it has the additional limitation of no more than 50 bones per model.
Creating the animation
Both Lens Studio and Effect House recommend using a framerate of 30 fps for any animated model, but Meta Spark (for whatever reason) recommends 24 fps. Stick with bone animations (rotation, position, and scale are all fine) and try to avoid directly animating objects.
If you are not good at animating and just need something simple, you can use Mixamo to animate humanoid characters using a mocap library. It also has the benefit of rigging your character for you, but I think you might need to remove some bones to meet the 50 bone limit of Effect House. But that's still a lot easier than animating something yourself.
UV Map
Before we can texture our model and make it look nice, we need to give it a UV map. A UV map defines how the three dimensional surface of your model maps to a two dimensional image. That mapping is how an image will be displayed on your mesh. If you downloaded a 3D object from the internet, there's a good chance it already has a UV map. If you created the model yourself, you'll have to create one. Your 3D software probably has some form of automatic UV unwrapping. If you need more control over the map, you'll need to define where the various faces of your model can be split by creating seams.
As we'll see later, there are pretty strict resolution limits on the textures we can use, so you might be wondering if you can use UDIM tiles. Unfortunately you cannot. Your model can have but a single UV tile.
Texturing
Now it's time to make our model look awesome by giving it some textures! Texturing is the process of using several different image maps to define how our model should look. I'll go over the types of textures and some limitations, but be sure to check out the texturing guide for each platform you are interested in:
Now we could skip using image textures and just use solid colors. That does work and might be what you want depending on the filter you are creating, but image textures can really take your creation to the next level.
Add a material
Now before we can add image textures to our model it needs at least one material. You can assign multiple materials to your model and have them assigned to different parts of the mesh, but make sure you have at least one material to start.
Texture types
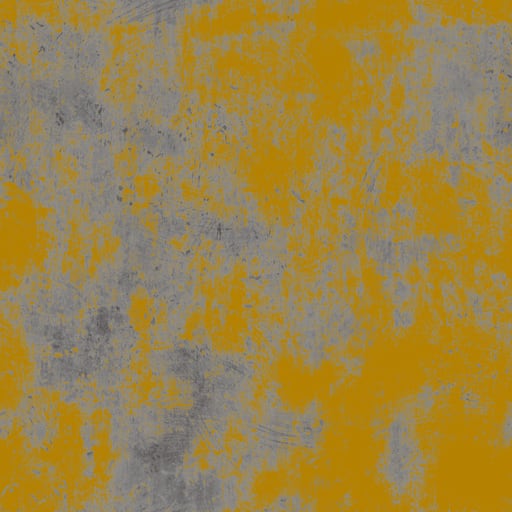
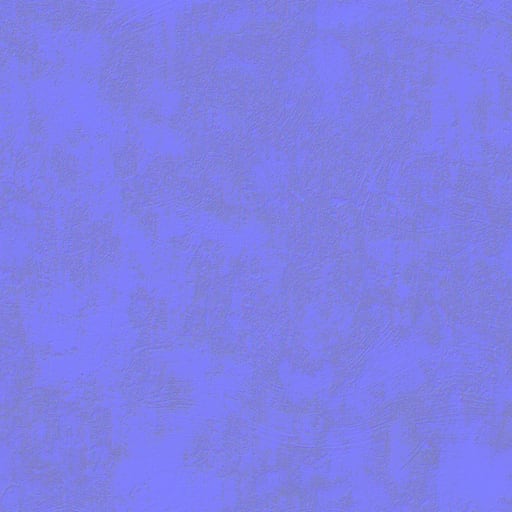
Each of the social AR platforms follows a PBR channel packing schema for their materials, but they each pack channels differently. We'll go over the base maps here and then go over how they pack them together. For each texture type I'll be including a sample image of "Painted Metal 02" from cgbookcase, an excellent resource for textures.
Diffuse
The diffuse texture, also known as albedo, is the colors on our model, typically without any lighting applied.
Normal
A normal map defines which direction that part of the mesh is facing. Now the mesh itself is already facing different directions, so the normal map is a great way to add extra detail without needing to have a super high detailed mesh.
Normal maps can come in two formats, DirectX and OpenGL. Lens Studio specifically requests OpenGL, but there's no documentation that I'm aware of for what Meta Spark and Effect House need, but I would guess OpenGL. The difference between the two formats is the green channel is inverted, so if you add a normal map to your model and the bumps/depressions are inverted, you'll just need to invert the green channel on your normal map. You can read more about this here.
Ambient Occlusion
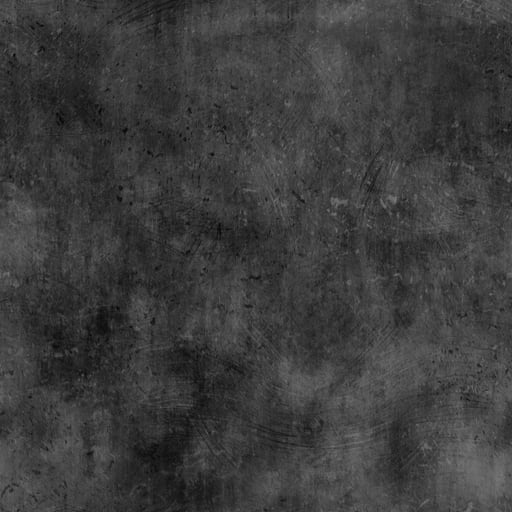
Ambient occlusion simulates soft shadows that result from two parts of a mesh being close to each other. It helps make your 3D object look a bit more realistic. This is just a greyscale image.
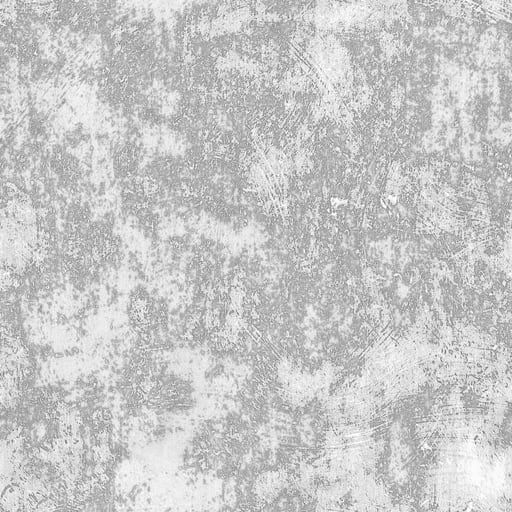
Roughness
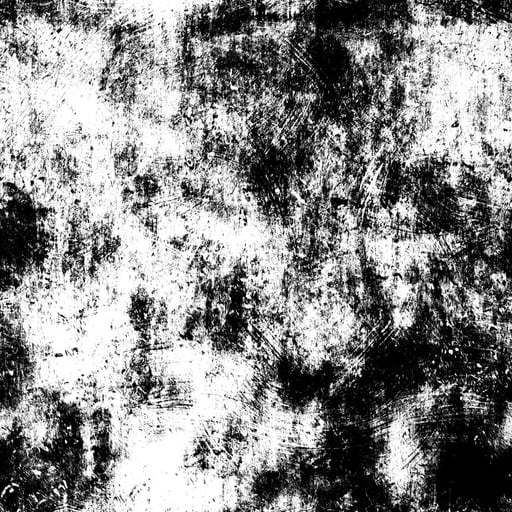
The roughness map defines which portions of your mesh are smooth and shiney vs "rough" or matte. It is a greyscale image.
Metalness
The metalness map defines how metallic your mesh is. Metallic surfaces are reflective while non-metallic surfaces are not. This is a greyscale image.
Channel packing
All three packages - Lens Studio, Meta Spark, and Effect House - accept diffuse and normal textures. However, they take the ambient occlusion, roughness, and metalness maps and pack them into a single image. They do this because those maps are each greyscale so they can occupy a single channel each of a red-green-blue (RGB) image. If you are using Substance Painter, it has presets for both Lens Studio (which will also work for Effect House) and Meta Spark and will produce the packed textures automatically. If you have the greyscale maps, I like to use this Combine RGB channel images tool to create my packed maps.
Lens Studio packs these three into a "Material Params" texture with metallic on red, roughness on green, and ambient occlusion on blue. Effect House follows the same schema but calls these "MRAO" textures.

Meta Spark packs these into "ORM" textures with ambient occlusion on red, roughness on green, and metallic on blue.
Opacity
Some AR software supports separate greyscale opacity maps, but you can also use PNG images with transparency in them. It mainly comes down to preference and file size/resolution.
Creating the textures
There are several ways to texture a 3D object. If you are routinely modeling and texturing 3D objects, you may already be using a tool such as Substance Painter which allows you to paint directly on a 3D mesh. If not, your 3D software may have some built-in texture painting capabilities. Another route may be to create procedural textures inside your 3D software using material nodes or some equivalent. Keep in mind that these materials cannot be directly exported - you first need to bake the material to image textures.
Texture resolution
Lens Studio supports up to 2k (2048x2048 pixel) resolution textures. Meta Spark and Effect House are both capped at 1k textures. If you need more resolution, you can tile your texture (if it is tileable), or you can assign different portions of your 3D model to different materials. You are limited to just the single UV tile, but you can overlap portions of your UV map if the overlapping portions belong to different materials. It makes your UV map a bit messy, but it is a possibility.
Remember, people are using your filters on mobile phones - they are not rendering out 4k images and videos.
Lens Studio and Meta Spark support non-square images, but Effect House requires square images with a power of two resolution (256x256, 512x512, etc).
Image formats
All three software packages accept both JPG and PNG images. Unless your image has transparency or you can't sacrifice any image quality, I would stick with JPG. Both Lens Studio and Meta Spark have some built-in image compression, but it's kinda slow. I personally prefer to use Crushee to do some preliminary image compression/optimization before importing my images.
Lens Studio has an overall 8 MB limit (increased to 25 MB with remote assets) per lens, Meta Spark is at 4 MB, and Effect House is at 5 MB with a 1 MB limit on individual images.
Importing
When you import your 3D models, double check the base color of each material. Unless you want to add a tint or reduce the vibrancy, you'll want to make sure the base color is white. I often forget to change that when exporting from Blender and end up with a light grey for my base color.
Import into Lens Studio
We add 3D models to Lens Studio via the Resources Panel. You'll see a new object in there with an "F" icon. If you expand that you should see some folders for meshes, animations, and materials and then a "P" icon. That "P" icon is what you then drag up to the Objects Panel to add to your scene.
If your model looks untextured, you may need to import your image textures separately. All you need to do is import them via the Resources Panel, find the material(s) for your model, then assign them to the proper channels.
Here's more information about importing 3D models to Lens Studio.
Import into Effect House
We add 3D models to Effect House via the Assets Panel. This will create a folder for your object with its accompanying materials and textures. If the image textures weren't automatically imported, all you need to do is import those separately. To add your model to the scene, find the asset with the same name as your model and the box icon. Drag that into the scene hierarchy and you are good to go!
Here's more informatino about importing 3D models to Effect House.
Import into Meta Spark
We add 3D models to Meta Spark via the Assets Panel. This will create a folder for your object with its accompanying materials and textures. If the image textures weren't automatically imported, all you need to do is import those separately. To add your model to the scene, open up that folder and drag the object with the box icon to the Scene Panel.
Here's more information about importing 3D models to Meta Spark.
Procedural materials
We talked about image textures, but in Lens Studio and Meta Spark you can create procedural textures. In Lens Studio you have a dedicated material editor and in Meta Spark you can do some pretty neat stuff with the Patch Editor to do some image manipulation. On top of that, both programs support some flavor of GLSL. I have tutorials on converting from Shadertoy to Lens Studio and converting from Shadertoy to Meta Spark.