Easy stencil or graffiti effect in Spark AR

Layering the camera view on top of a different background results in some cool effects. With just a little setup, you can create some cool stencil effect lenses to recreate a wood burning type effect. This tutorial will go over everything you need to know. You can view an example of this type of filter by clicking here or by scanning the code below.

Setting up the project
We are going to do everything in the patch editor for this effect, no need to add anything to the scene. This tutorial does assume some familiarity with the patch editor.
The images
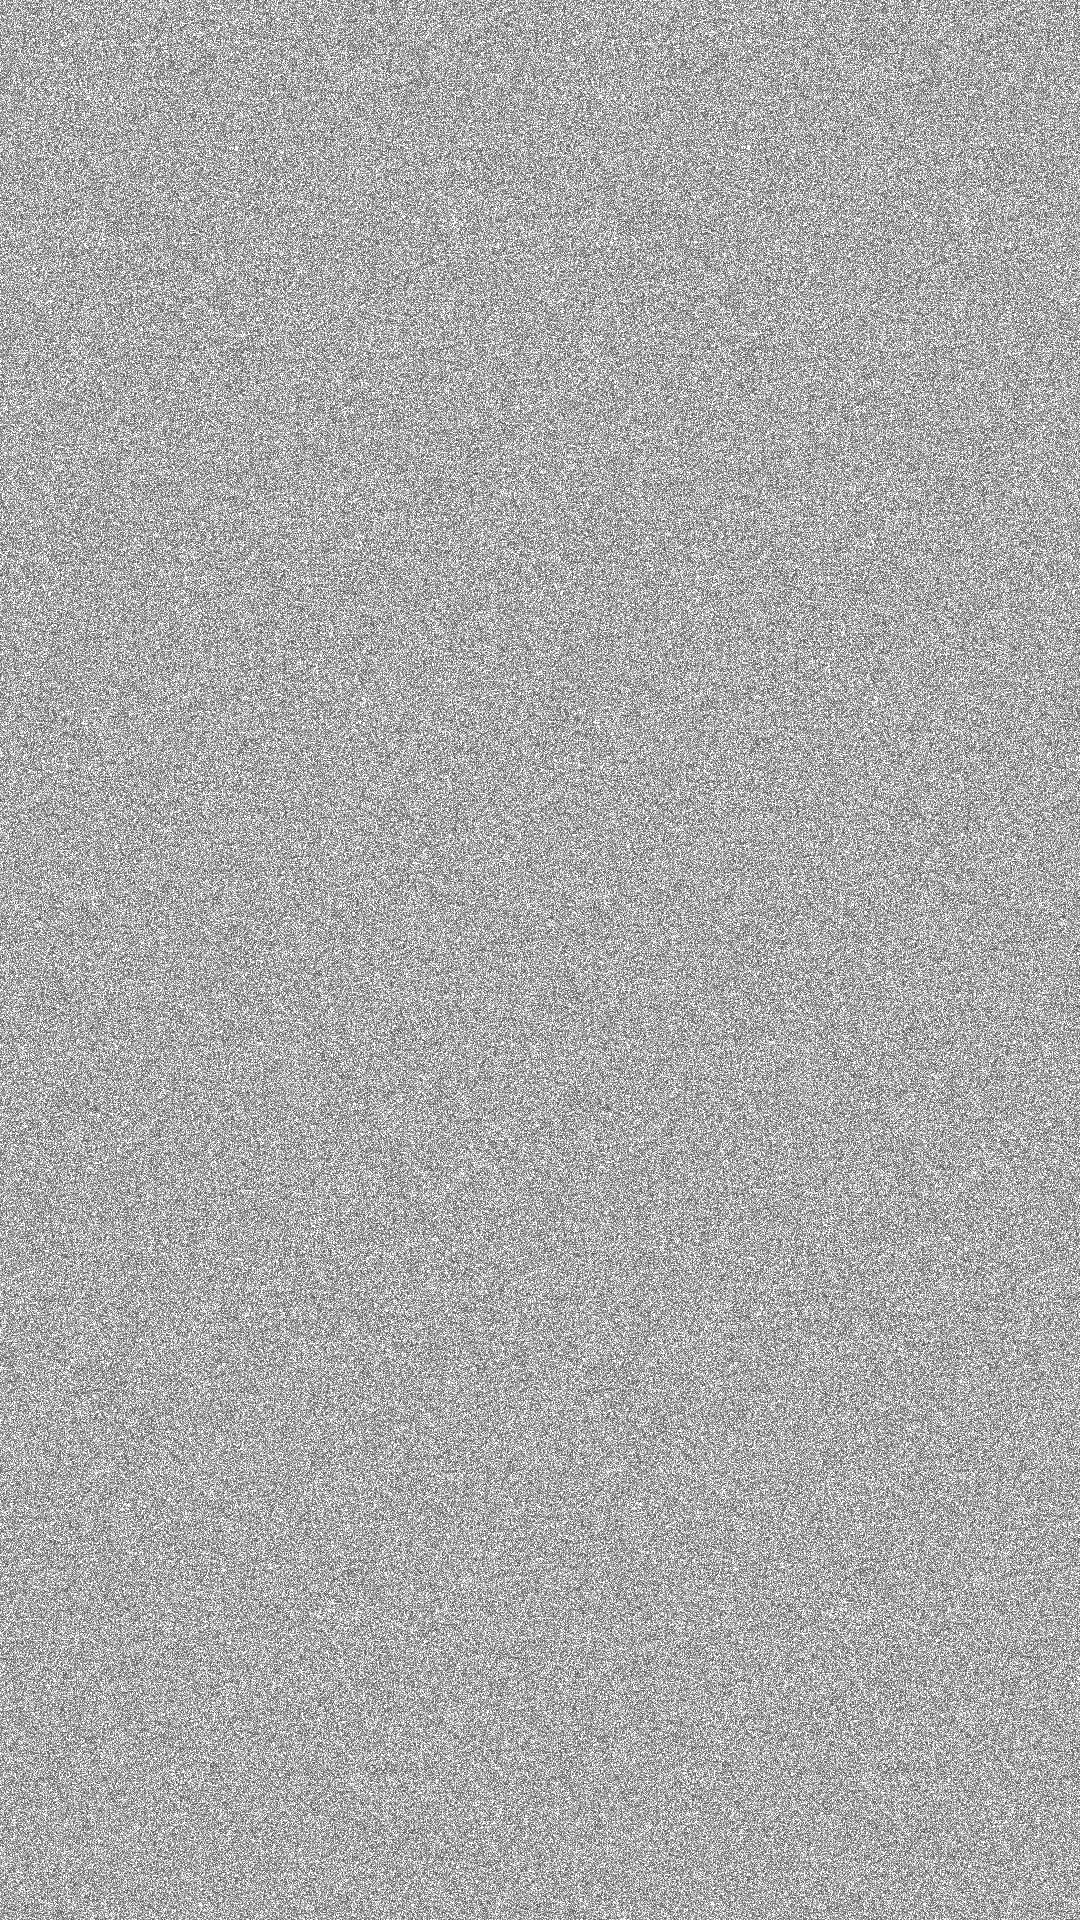
The first thing you are going to need is a set of images for the background. In this tutorial I am using some pictures of wood to simulate a wood burning effect, but feel free to use whatever you want. You'll want a simple background, but something more interesting than just a solid color. Paper or wall images could also work well for this. I also recommend getting some sort of noise/grain texture. This is optional, but it will help us blend things in later. Feel free to use the one below (released under a CC-0 license - feel free to use however you want):
The patches
We will mostly be using the built-in patches, but we do need to import a few from the Asset Library. Go ahead and import the Blue, Luminance, and TriTone Shader patches. We also need a Scene Render Pass so select the Device in the Scene panel and then create the default render pipeline in the object properties over on the right-hand side of the screen.
The stencil effect
The basic approach is to convert our image into a black and white version of itself and overlay that over some background. Let's start with the stencil part. To do this, we are going to convert our image to a grayscale version of itself and then use the TriTone patch to threshold that image to just black or white. But, before we do that, I'm going to add a slight blur effect. The reasoning behind the blur is to smooth out some of the detail. We aren't going to add so much blur as to lose definition, but we are going to add enough to take out some of the noisy details.
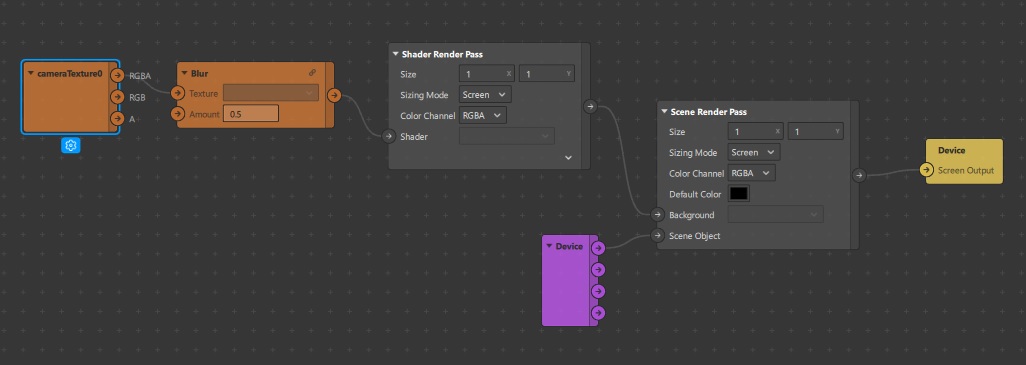
Take the cameraTexture0 patch that came along with the render pass and connect that to the Blur patch. I used a blur amount of 0.5. If you try to connect the output of the Blur to the Scene Render Pass, you are going to get an error. To fix it, just add a Shader Render Pass in between the Blur and the Scene Render Pass. Everything we do is going to feed into the Shader Render Pass from here on out.
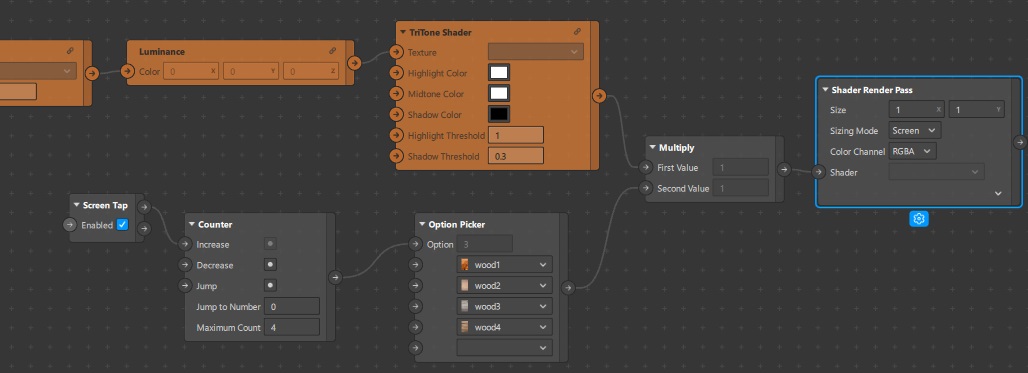
Now that we have the blur, let's create the main stencil effect! Send the output of the Blur into the Luminance patch to convert to grayscale, and then send that output into the TriTone patch before heading back into the Shader Render Pass. The TriTone will convert our image into three distinct colors, but we only want two distinct colors. Set both the Highlight and Midtone colors to white and the Shadow color to black. Set the Highlight Threshold to 1 and then set the Shadow Threshold to somewhere between 0.2 and 0.4. You now have your basic stencil effect!

The background
Now that we have the stencil effect, let's add in our background. If you haven't already, import your background images. Then add some Screen Tap, Counter, and Option Picker patches so the user can cycle through a few different backgrounds. Then add a Multiply patch and use the stencil effect as the top input and the background as the bottom input.
Finishing touches
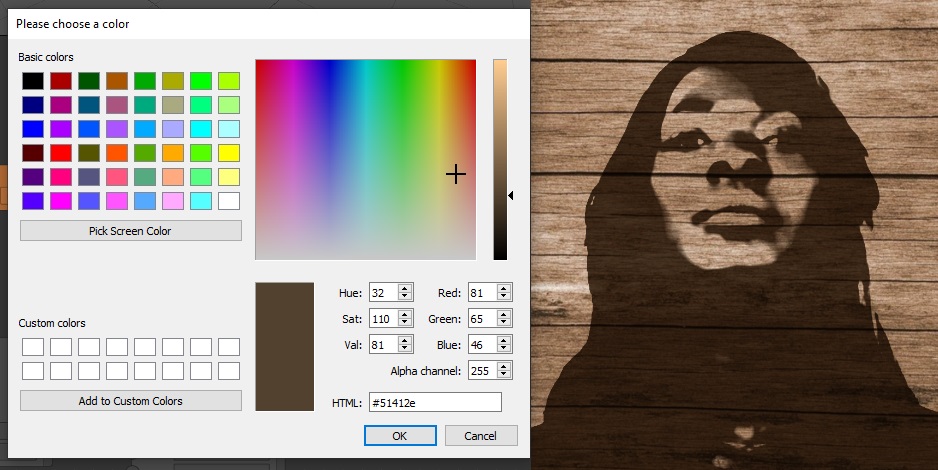
Great! We have our stencil effect, but it is a little harsh looking. Let's blend things together better. To start, head back to the TriTone patch and adjust the shadow color. Brightening it up a little to something like a dark brown helps the background show through. For my example a dark brown works because I am using a wood background, so feel free to adjust the tint to something that works better with whatever background you are using.
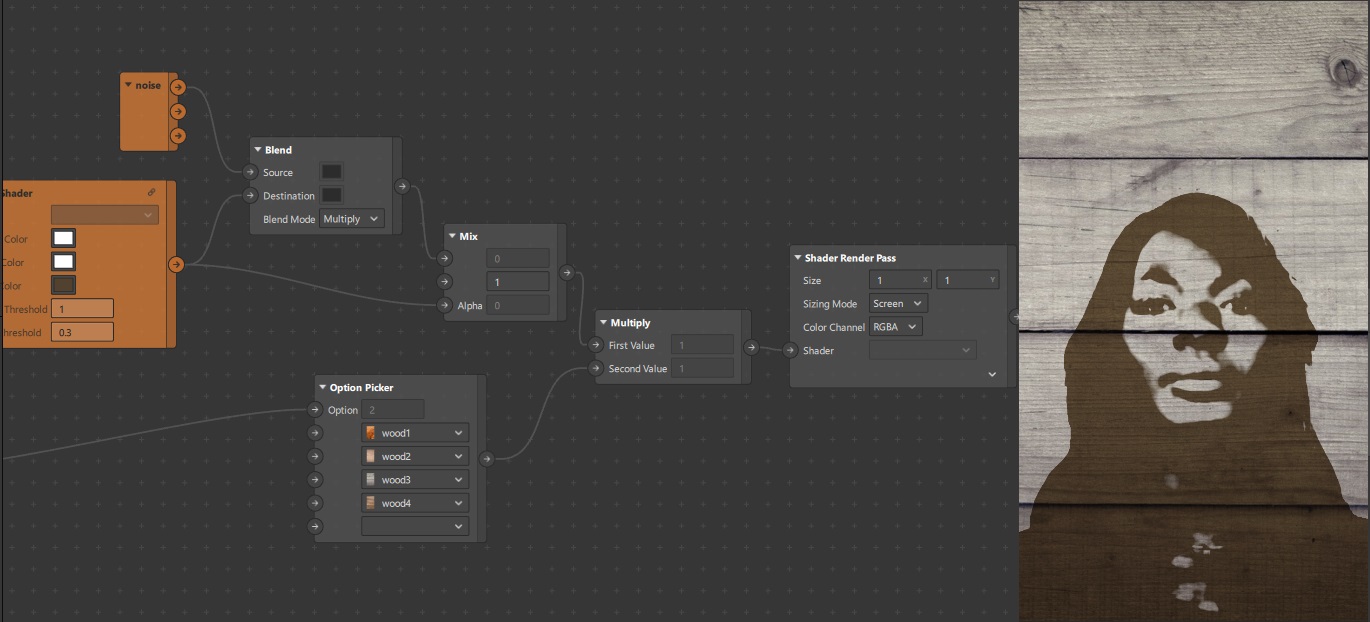
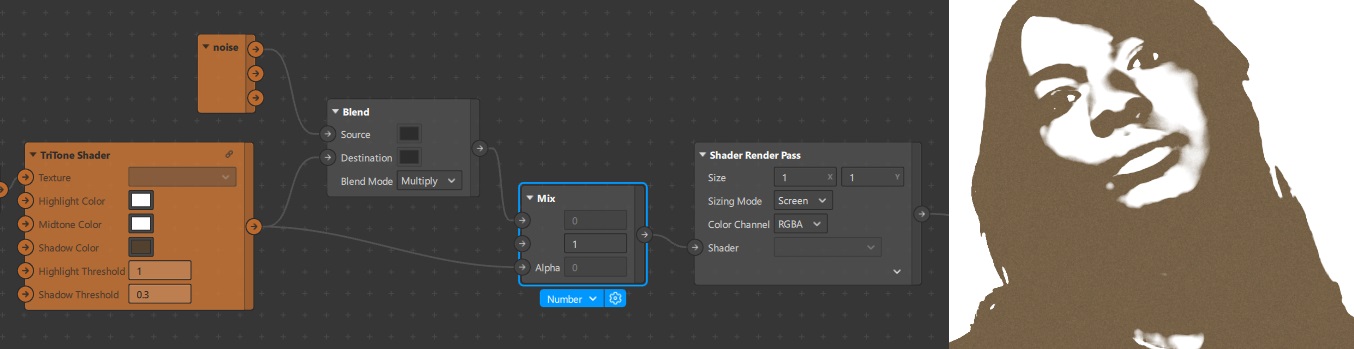
Letting the background show through a little really helps sell our stencil effect, but our actual stencil portion of the effect is a little too uniform. If we add a little noise to break it up, we can blend the stencil into the background a little better. Remember that noise image I mentioned at the beginning of the tutorial? Go ahead and import that (or a noise image of your choosing). Add a Blend patch and connect your noise image to the Source input, the TriTone patch to the Destination, set the Blend Mode to 'Multiply,' and then go ahead and connect that to the Shader Render Pass (temporarily removing the background). You will now see noise overlayed on the stencil effect, except you'll notice it is uniform across the entire effect, even in the white area. This is okay, but it will add noise to the entire image and not just to our stencil, so let's make sure that portion of the image stays white.
Add a Mix patch and connect the output of the Blend patch to the top input and connect the TriTone patch to the Alpha input. For the middle input set that at 1 and then connect your Mix patch to the Shader Render Pass. You will now see your original stencil effect with the noise applied just to the dark portion of the image. What we are doing with the Mix patch is taking our noisy version of the stencil effect and using the original stencil effect to choose whether to show the color white or the stencil (the middle input being set to 1 is equivalent to the color white).
Now that we have the noise mixed in with the stencil effect, plug the output of the Mix patch into the top input of the Multiply patch from before and connect that to the Shader Render Pass. You now have your finished effect, background and all! The added noise is subtle, but it helps the stencil effect layer on top of the background better and it looks a little more natural.