Text

Why text?
Text, used well, can add a nice touch to a lens. Used incorrectly, it is downright annoying. Fortunately, through the use of dynamic text, Lens Studio makes it easy to keep our use of text tasteful.
Adding text
There are two kinds of text you can add - Text Objects and Screen Text. Text objects exist in 3D space and can be attached to things e.g. the user's head. Screen text exists in 2D space and is overlaid over everything. In this tutorial we'll be going over the 2D screen text.
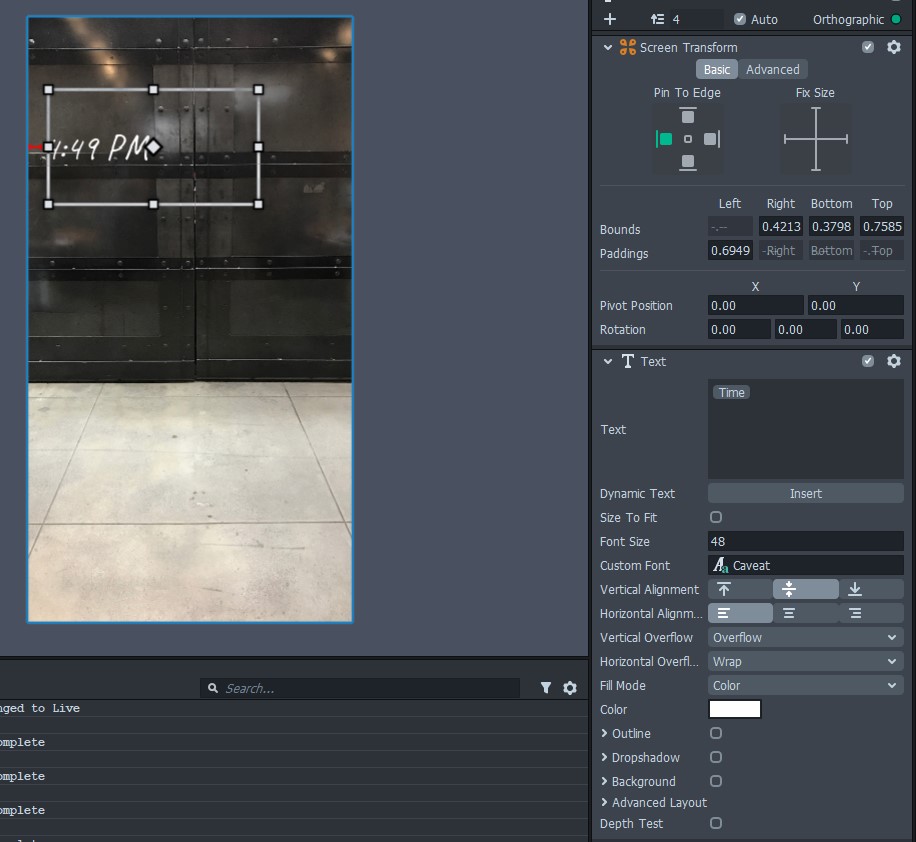
Use the Objects Panel to add some Screen Text to your scene. Just like with Screen Images, it will either be added to an existing orthographic camera or a new camera will be created for you.
What should our text say?
You can put anything you want really, but I recommend keeping it simple; people want to take Snaps and add their own captions. Your text could be a word that goes along with the theme of your lens like "love" or "mood," or you can use dynamic text to insert the current time or day.
You can find the dynamic text option below the text input box for the screen text. If you click on "Insert" you will see a list of all the different choices. The awesome thing about dynamic text is that it updates automatically. If you choose the "Username" option, it display the current user's Snap username. If you choose "Day," it will always show the current day of the week. Dynamic text is a nice way to add that little touch of personalization.
Customizing the look of our text
Now that we've settled on what our text is going to say, let's make it look nice. The default font is nice for displaying information, but if we are making an aesthetic lens we'll probably want to change that.
To change the font of your text, click on the box for "Custom Font," click on the "+" button in the window that pops up, then choose a font from the Font list or load your own font from somewhere like DaFont, Font Squirrel, or Google Fonts (just be sure to check the license and make sure it is fine to use).
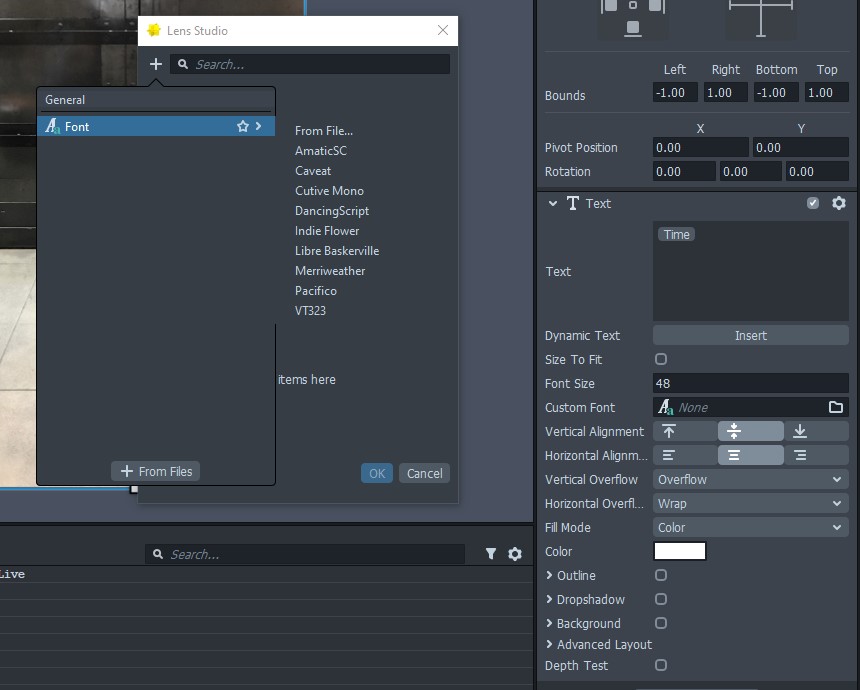
In addition to customizing the font, there are many more options you can change such as the size, alignment, and color of your text. Play around with the different settings until you are happy with the result.
Positioning your text
So far we've added some text and maybe given it a new font, but so far it is just sitting in the middle of the screen. That might not be what we want, so let's talk about positioning text.
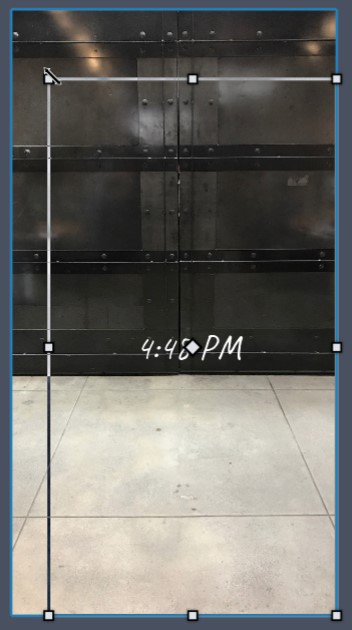
Before you start moving your text around, click on the Full Frame Region that your text is nested under. Over in the Inspector Panel you'll see four different options - Full Frame, Live, Capture, and Safe Render. The screen region dictates where you are allowed to place objects. If you don't want your text hidden by the Snapchat user interface while someone is recording, you'll want to use Safe Render. If you only care about the placement of your text after recording, then Capture will probably your best bet to ensure none of your text is cut off. Full Frame, Live, and Capture are usually pretty similar if not the same, but due to device differences Capture is safest to use when placing text.
Once you've defined your screen region, you can re-select your text and start dragging the handles to resize and position your screen text.
You can use the "Pin To Edge" feature if you want to keep your text a specific distance from the side of the screen. This works especially well if your text is also aligned to that direction (e.g. left aligned text and pinning to the left side of the screen).