Introduction to Lens Studio
Before you begin
If you're gonna make lenses (Snapchat's name for AR filters), you're gonna need a Snapchat account. Download the app and make one if you haven't already.
Download and install Lens Studio
Next step is to download Lens Studio. The current version as of this writing is 3.0.1. You don't need a high-end computer to use Lens Studio, but please check the system requirements before you buy a computer specifically for making lenses. The better the computer, the better Lens Studio will run. And don't forget that you'll probably be using some sorts of graphics programs to create assets for your lenses, so make sure your computer can run those too.
Open up Lens Studio
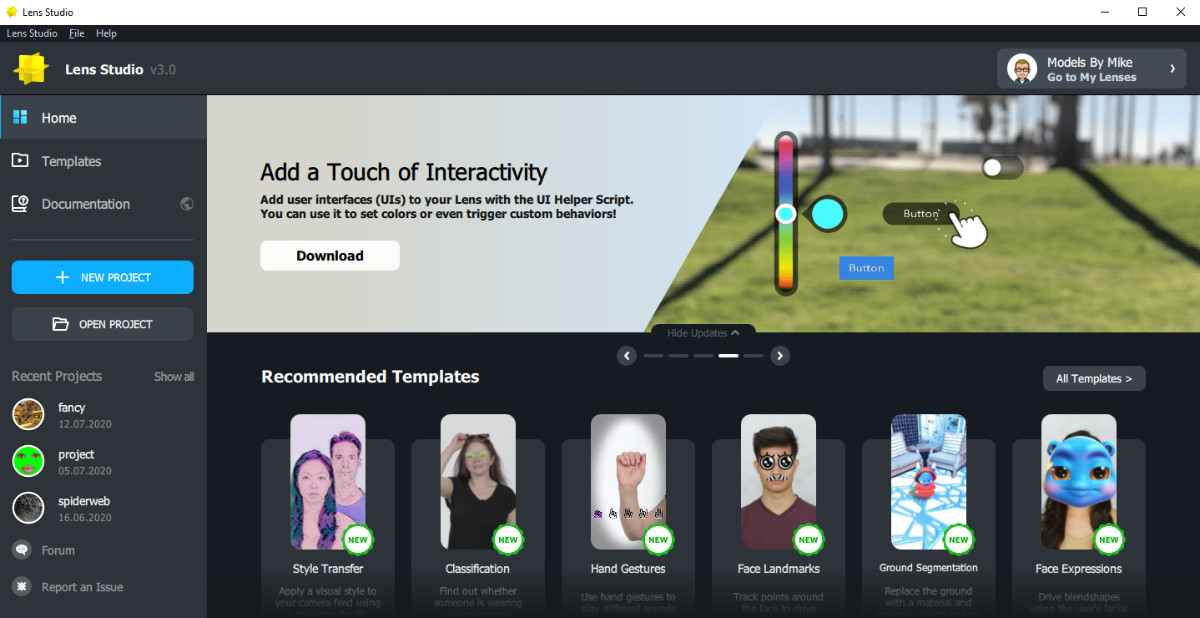
Let's get started! Open up Lens Studio and you'll be greeted with the welcome screen. You probably won't be spending too much time here, but it's still good to get to know. The main banner in the middle contains useful tips/templates/tutorials, so be sure to check those out. At the top right you can sign in and then view your lenses that you've created. The templates are super useful, and I use them all the time, but we're also going to learn how to make a lot of them from scratch. For now let's just click on the "New Project" button.
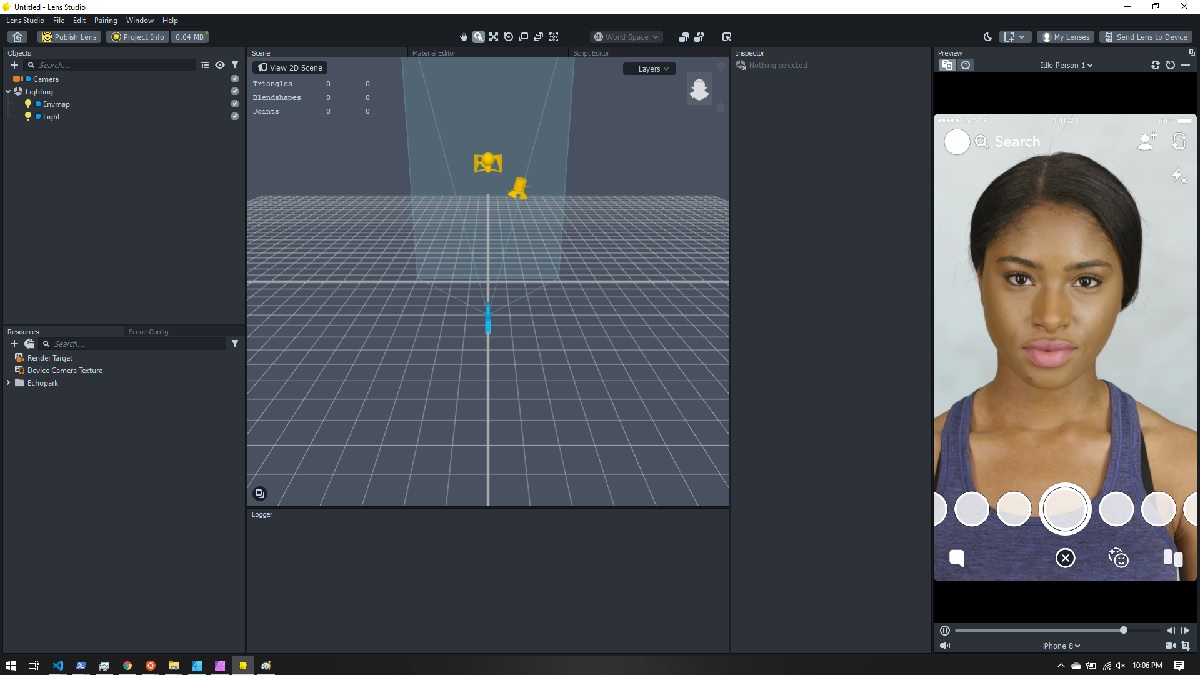
Once you create a new project, you'll be taken to the main editor. Get used to seeing this window, because this is where all the magic happens. Feel free to resize the areas, and you can also drag and drop the various panels into new areas. If you change the layout and need to get back to this one, go to Window->Panels->Default Layout.
The panels
Objects panel
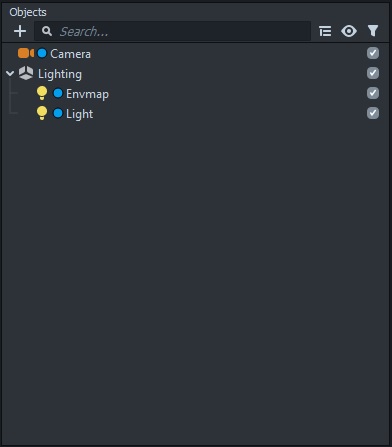
The objects panel is where you organize the different elements that make up your AR scene. This is where you add cameras, 3D objects, images, etc.
Resources panel
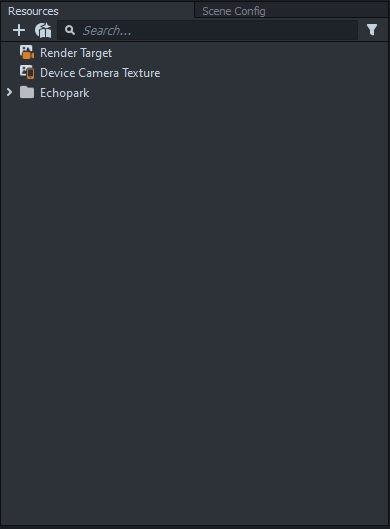
The resources panel is where you import and manage the various 3D models, graphics, scripts, materials, etc. that make up your lens.
Scene config panel
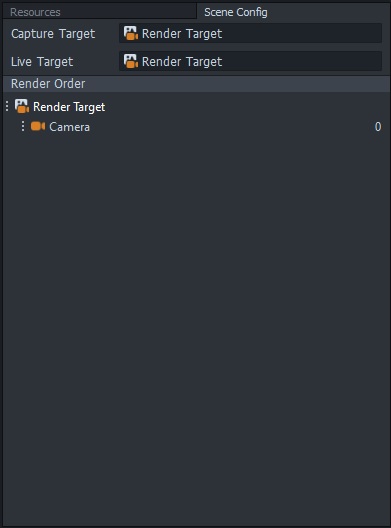
The scene config panel is where you can change what gets displayed and in what order. We won't be in here too often, but it is an important place. Probably most important here are the live target and the capture target. The live target is what the user sees, and the capture target is what they record. If you have any sort of user interface, you'll probably be displaying it through the live target so that the recording is muddled by the UI.
Scene panel
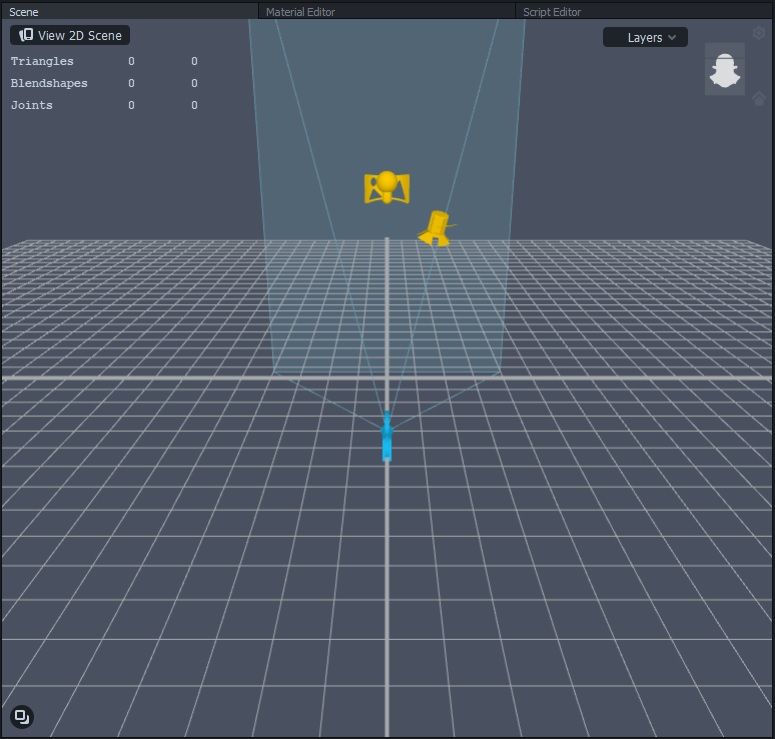
The scene panel is where you lay out your actual effect. This is where you position your 3D models and images.
Material editor panel
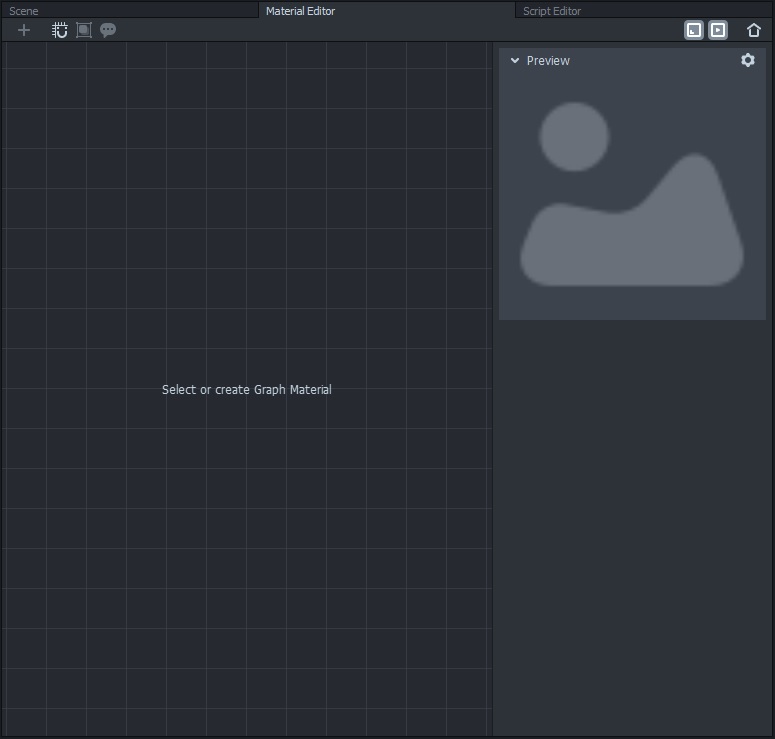
The material editor lets you create some pretty neat material. A material, by the way, is what controls how an object looks e.g. color, shininess, etc. There are plenty of built-in materials you can use, but you can create some pretty neat stuff here. It is a node-based editor similar to that of Blender or Unity.
Script editor panel
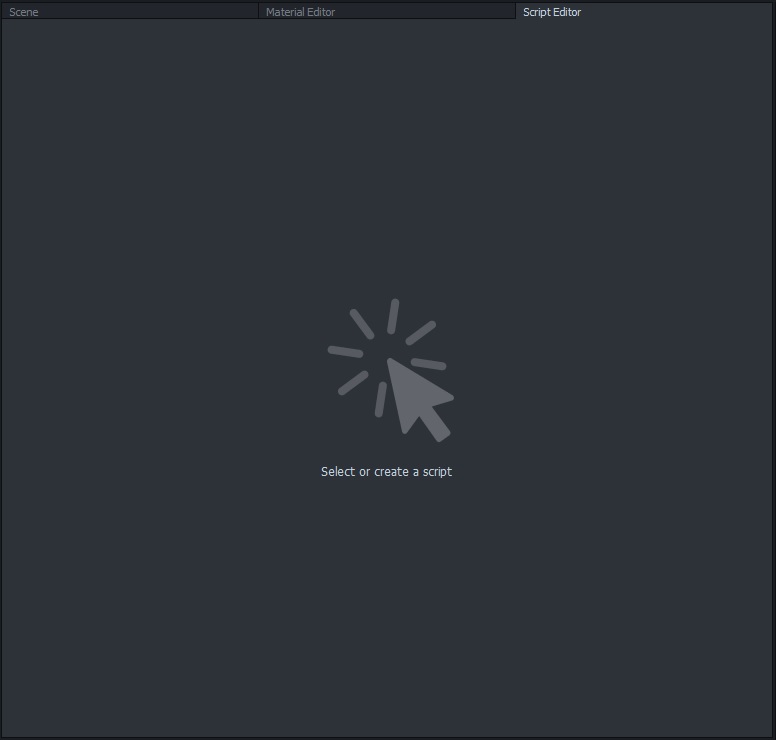
Advanced effects usually require some sort of scripting. Lens Studio comes with a built-in editor, or you can use an external code editor. Don't worry if you aren't a coder, we'll go over a lot of what you need to now to still create awesome lenses.
Inspector panel
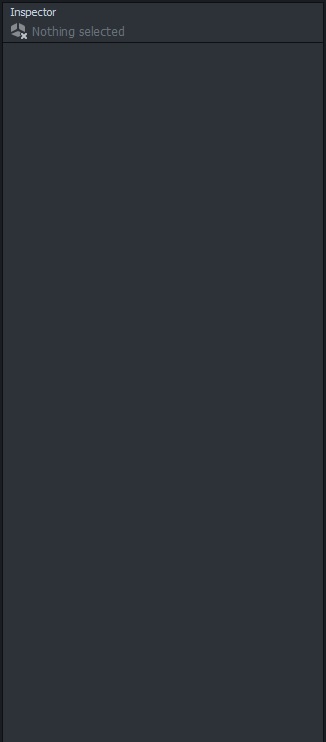
The inspector panel changes based on what you have selected in the objects panel. This is where you can change the different properties of the cameras, materials, images, etc.
Logger panel
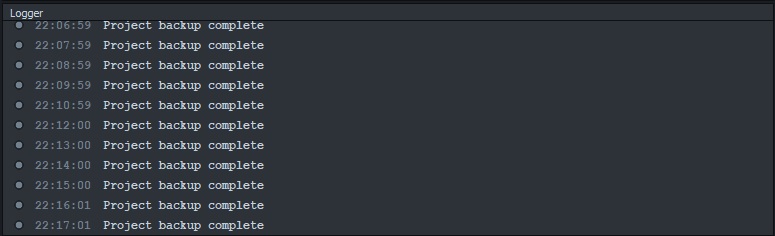
The logger will tell you if there are any errors with your lens. You can also print out information from your scripts to help with troubleshooting.
Preview panel
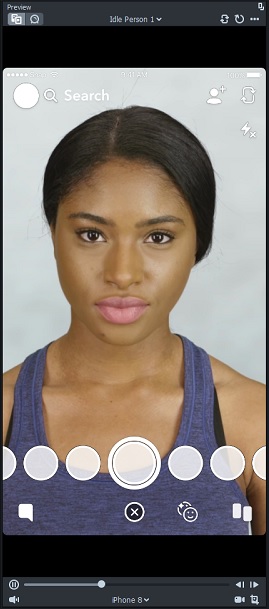
The preview panel is where you can preview your lens. You can switch between still photos and video, and there are several different models/scenes to choose from depending on what sort of lens you are working on. You can also add your own footage. At the bottom you can choose the type of device to make sure your lens works on different sized devices.