Combine segmentation textures in Lens Studio
Introduction
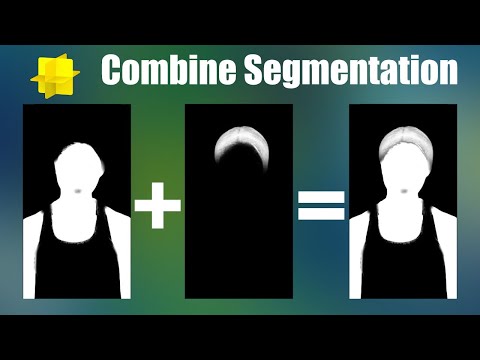
Lens Studio has some pretty nifty segmentation textures that let you mask out the background, a person, or parts of a person (face, hair, clothing, etc). But what if you want to combine two of those segmentation textures? Let's say the upper garment and lower garment segmentation textures? Fortunately there is a way using render targets and layers.
Scene setup
Let's start in the Resources Panel. Go ahead and add the segmentation textures you want to use. For this tutorial I'll be combining the upper and lower garment segmentation textures (there is full garment segmentation, but this serves as a good example). Next create a new Render Target and name it "Mask." Now go into your Scene Config and change the Live Target to your new Mask render target. Nothing will change in the Preview Panel, so let's add a new camera to the scene.
In the Objects Panel, add a new camera. Create a new layer for it named "mask" and set the render target to our new mask render target. Change the camera type to "Orthographic" and while not strictly necessary, I like to change the clear color option to "Color" and set it to black. Now add a couple screen images to the camera and change their layer from "orthographic" to "mask."
Combining the segmentation textures
Now that we have our screen images, let's compose our segmentation textures into a composite mask. Set the texture of one of the images to the upper garment segmentation and the other to the lower. In the Preview Panel you'll only see one of the masks active. All we need to do now is change the Blend Mode of the bottom-most image in the scene hierarchy to "Add." Black pixels have a value of 0 and white pixels have a value of 1. By adding our second image to the first we combine the two segmentation textures.
You can also subtract segmentation textures in the case of overlapping masks (e.g. full body and lower garment). Instead of using the "Add" blend mode, use "Difference."
Wrapping things up
Once you are happy with the mask, set the Live Target in your Scene Config back to what you had before. You can now use the mask render target anywhere you would use an opacity texture!
